Creating a workspace
Use this page for the full workspace lifecycle: create, rename (edit), delete, and switch the active workspace. For the account directory, General fields, and the workspace sidebar map, see Getting Started with Workspaces.
Create a workspace
New workspaces are created from Accounts → Workspaces, not from the top-tab Workspaces settings.
Where to start
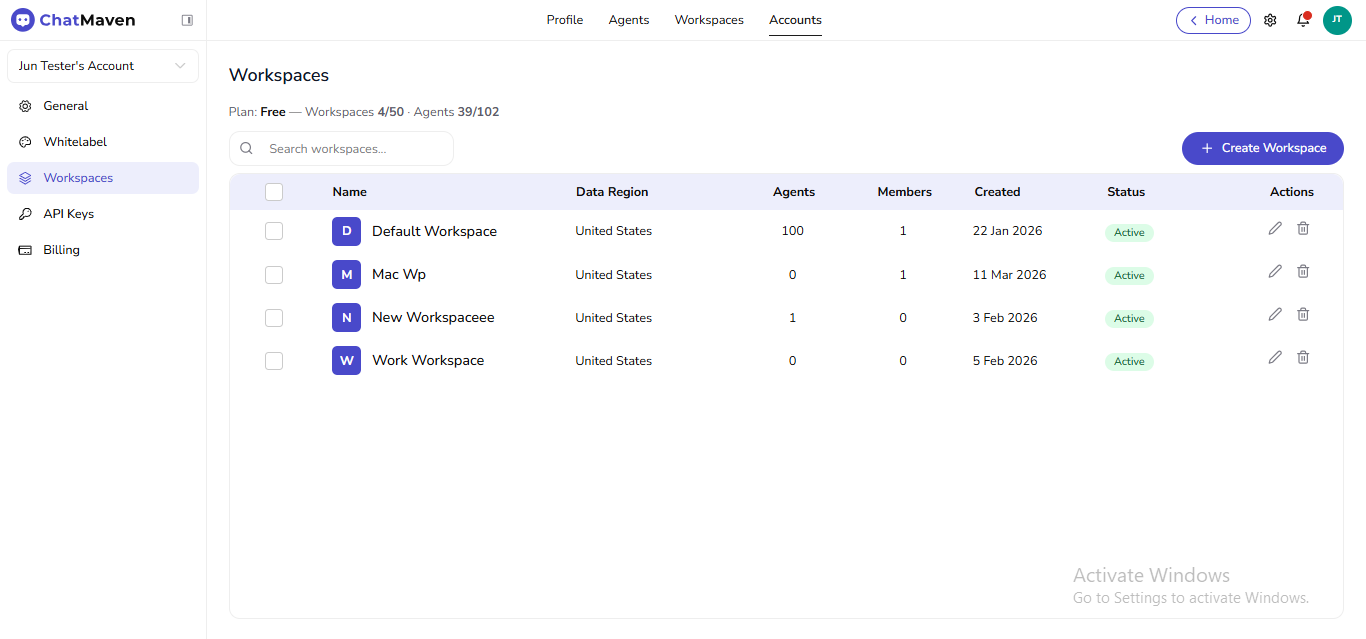
- Top navigation: Accounts.
- Left rail: Workspaces.
You should see the Workspaces title, the plan line, Search workspaces…, and Create Workspace.
Live URL: live.chatmaven.ai/accounts/workspaces
Steps
-
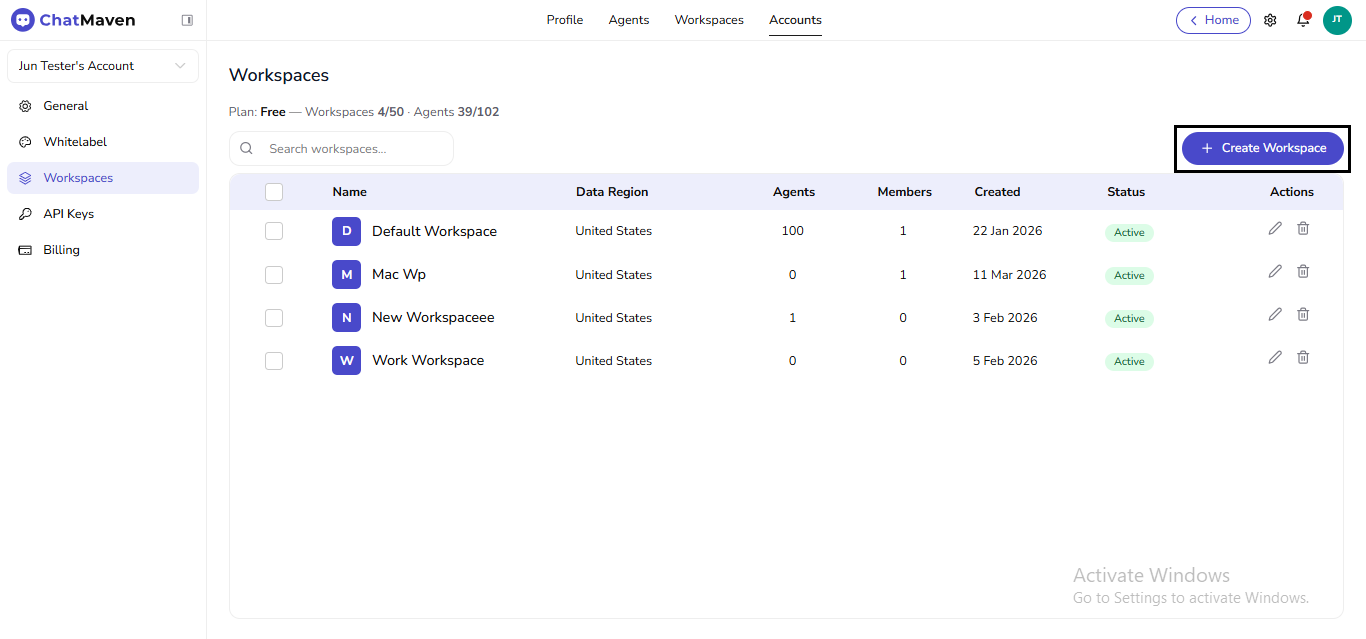
Click Create Workspace.
-
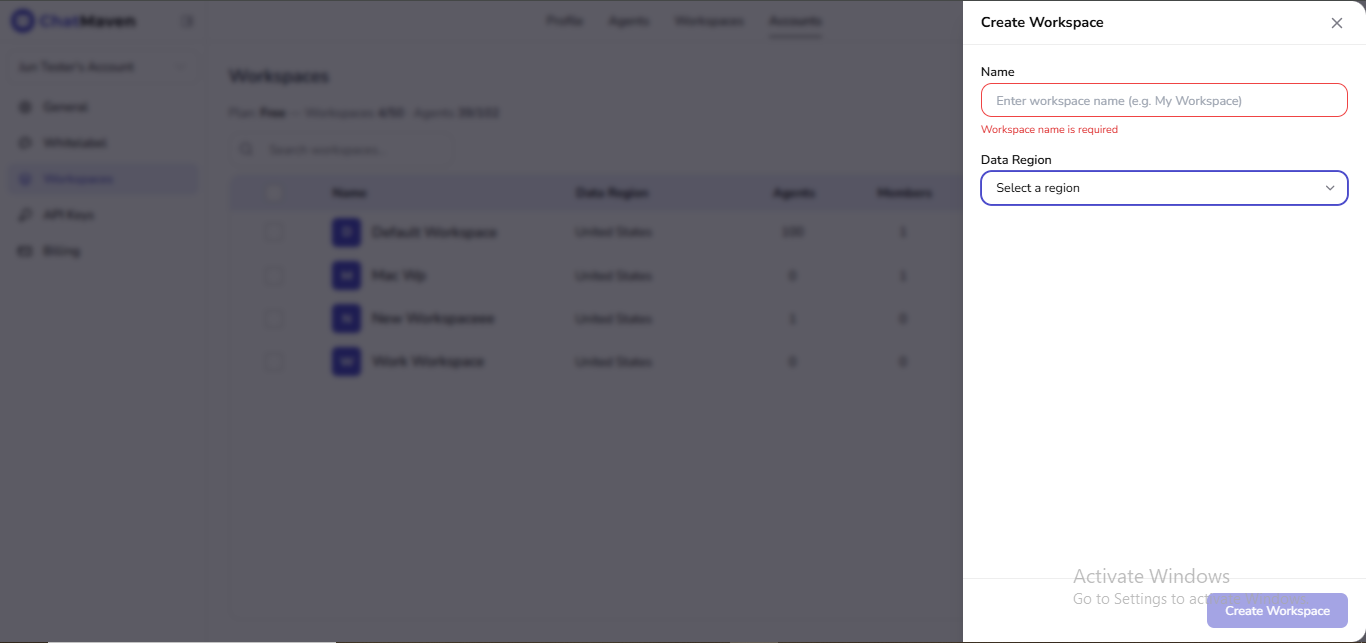
In the drawer, set Name (placeholder example: Enter workspace name (e.g. My Workspace)) and Data Region (Select a region). Both are required. If Name is empty, you’ll see Workspace name is required and Create Workspace stays disabled until the form is valid.
-
Click Create Workspace when it is enabled.
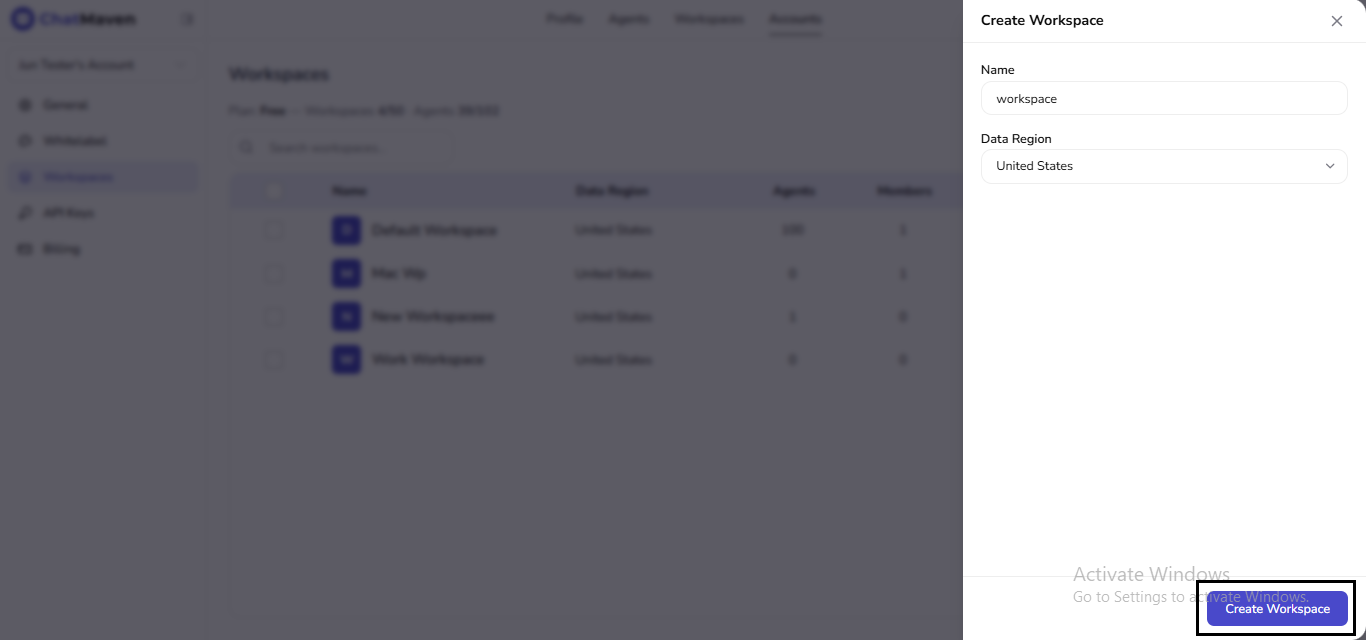
You cannot change Data Region after the workspace exists.
Edit workspace name (rename)
From the account directory
- Accounts → Workspaces.
- In Actions, click the pencil for the row. ChatMaven opens workspace settings on General with the same name field.

From workspace General
- Top bar: Workspaces → sidebar General (live.chatmaven.ai/workspaces/general).
- Change Workspace Name and click Save.

Delete a workspace
Deletion removes agents, flows, templates, forms data, tags, custom fields, and related data for that workspace. Treat it as irreversible.
Before you delete
- Export or migrate anything you must keep.
- Confirm production channels are not pinned only to this workspace.
From Accounts → Workspaces
- Accounts → Workspaces.
- In Actions, click the trash icon for the row.

- Complete any confirmation the app shows.
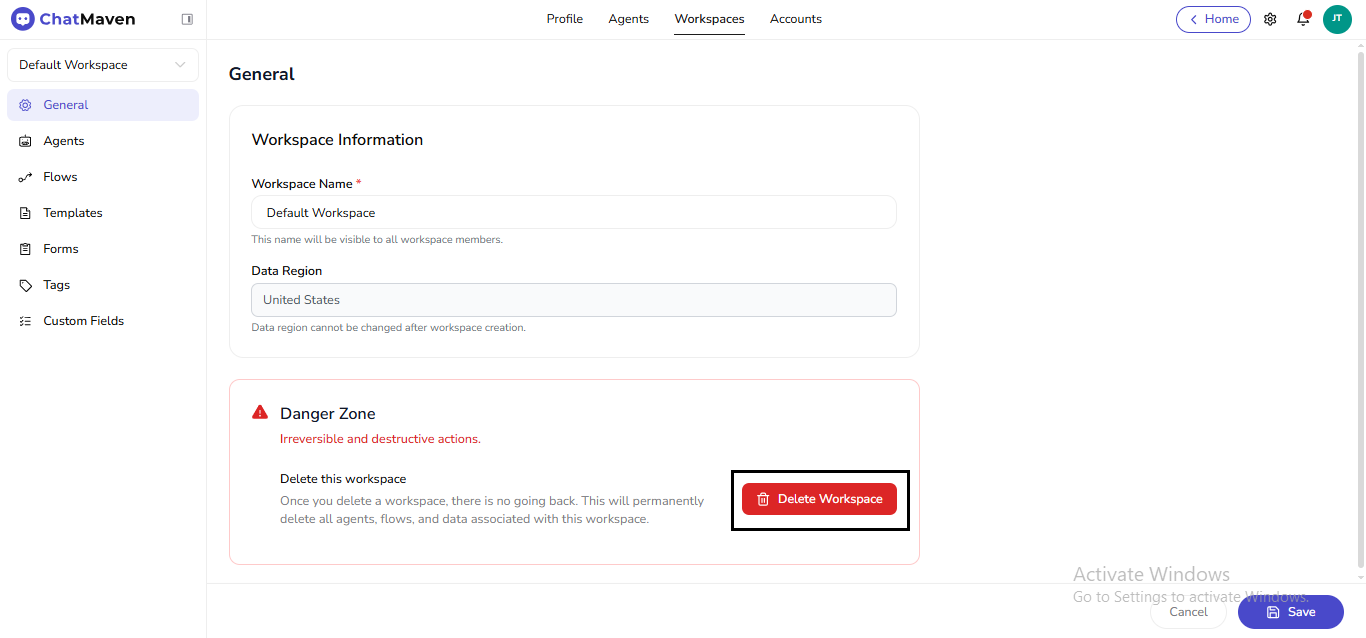
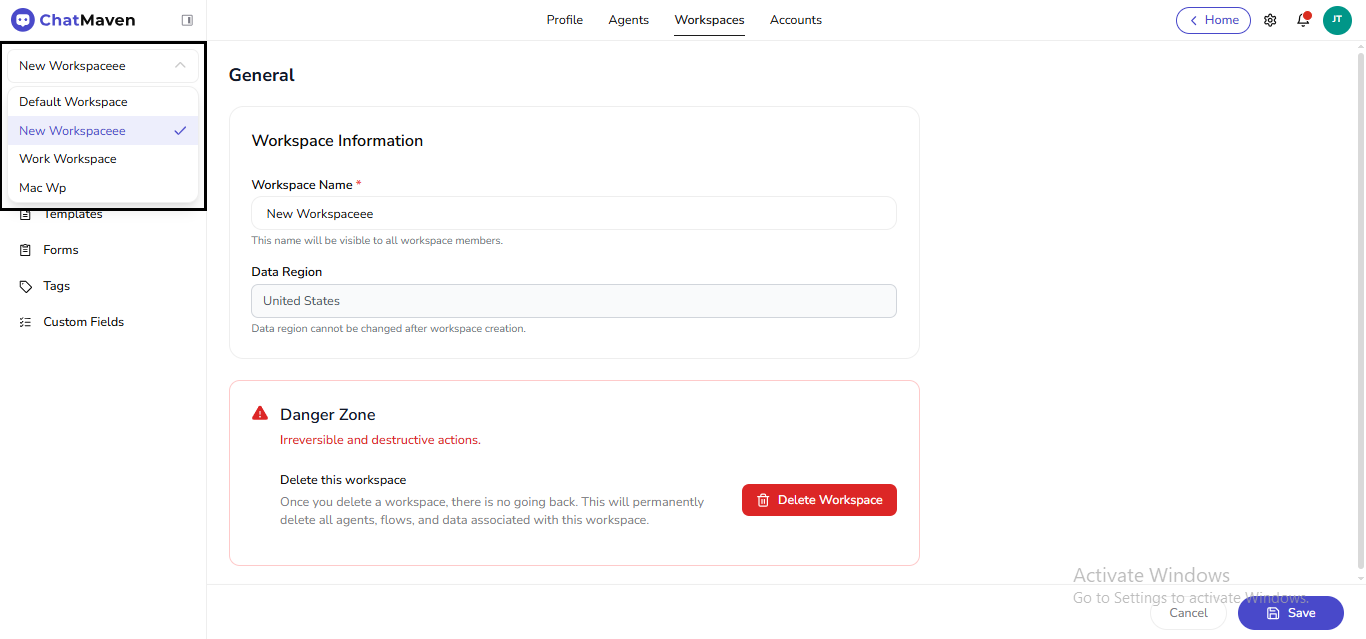
From Workspaces → General (Danger Zone)
- Workspaces → General (or arrive via the account pencil).
- Scroll to Danger Zone and read the warning.
- Click Delete Workspace.
- In the dialog, confirm only if you intend to remove that workspace permanently.
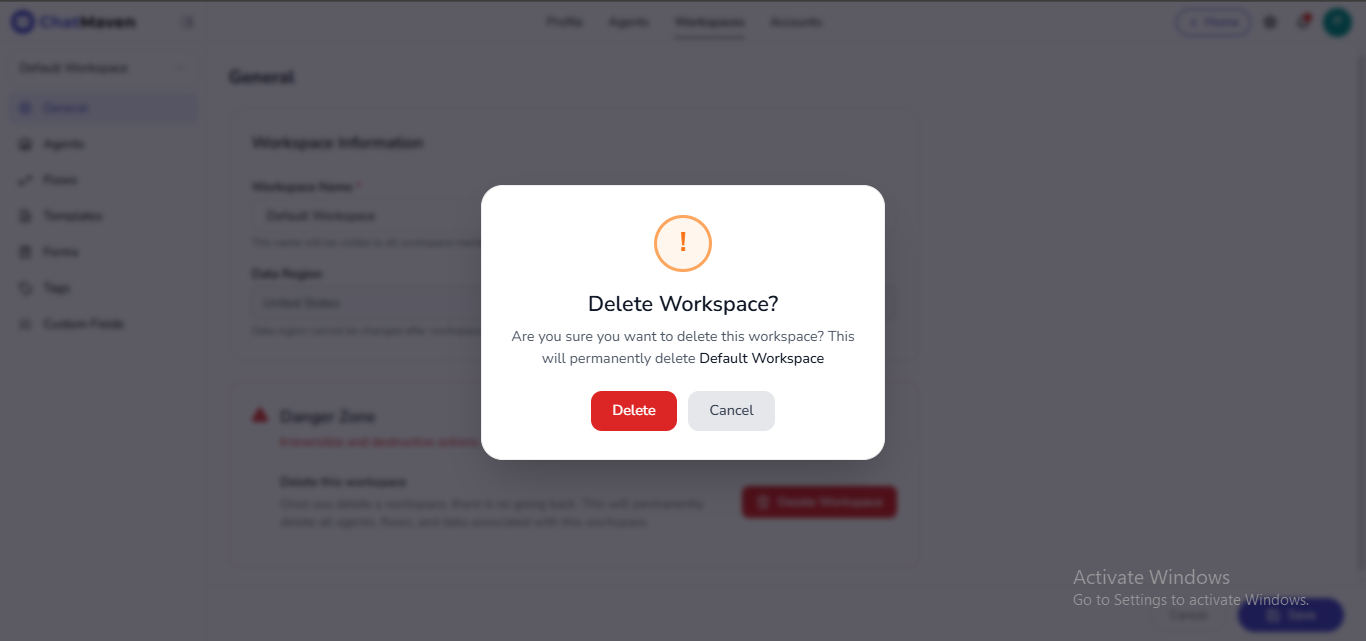
ChatMaven does not restore a workspace after deletion. If you are unsure, stop at the confirmation step.
Switch workspaces
If you belong to more than one workspace, change the active context without signing out.
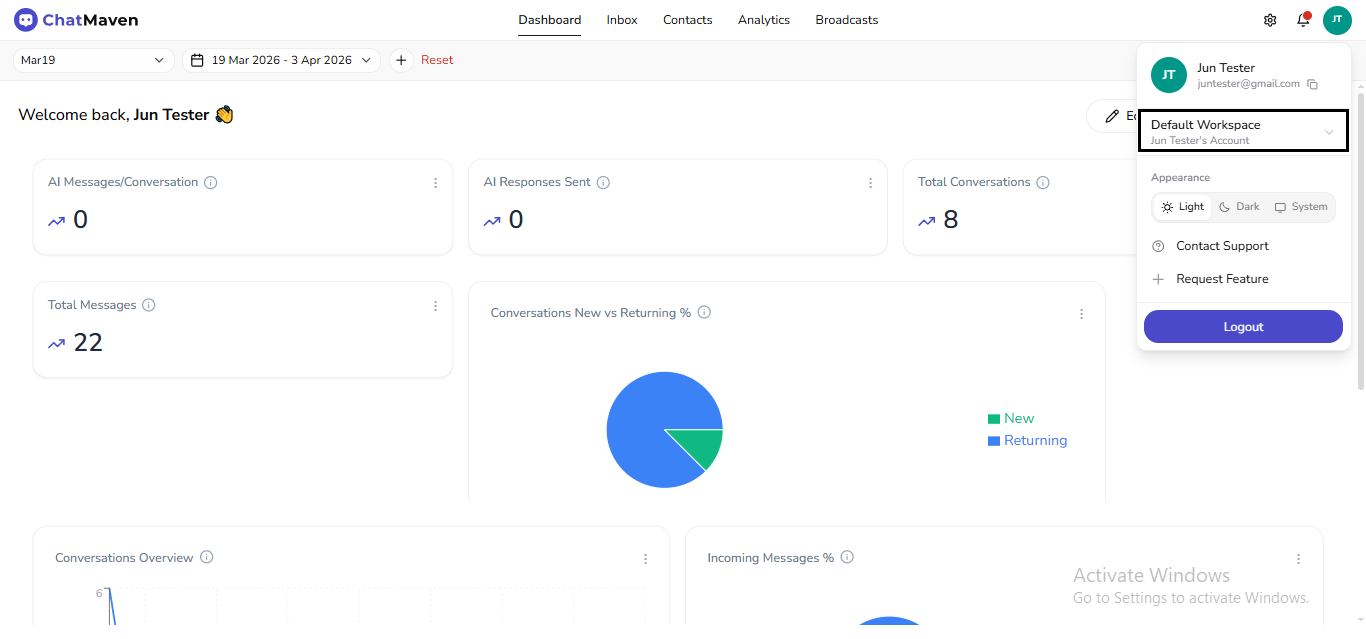
Profile menu
- Click your avatar in the header.
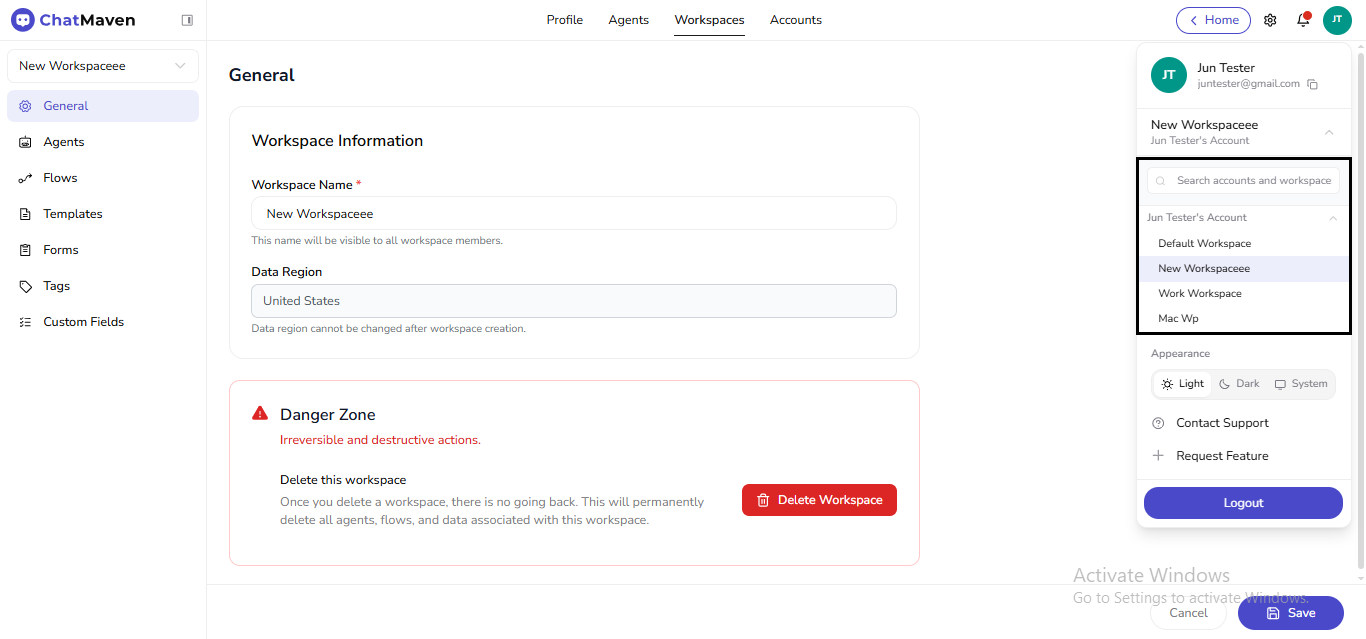
- Expand the current workspace control and pick another workspace.
When Search accounts and workspace appears, type to filter long lists.
Workspace sidebar dropdown
On top-tab Workspaces pages, use the workspace dropdown at the top of the left rail. The checkmark marks the active workspace.
Related
- Getting Started with Workspaces — Account directory, General settings, sidebar map.