Workspaces
Workspaces split your ChatMaven environment into separate areas—each with its own agents, flows, templates, forms, tags, and custom fields. Use the account-level workspace directory when you need a full list, quotas, and bulk-friendly actions; use workspace settings when you are already inside a workspace and want to rename it or remove it from the danger zone.
Live references: Account workspaces · Workspace General settings
The sections below cover the workspace directory, creating and editing workspaces, deletion, and switching between workspaces—all using ChatMaven labels and the URLs above.
Open the workspace directory
How to reach the list where you create workspaces and inspect usage:
- In the top bar, open Accounts.
- In the left rail under your account name, choose Workspaces.
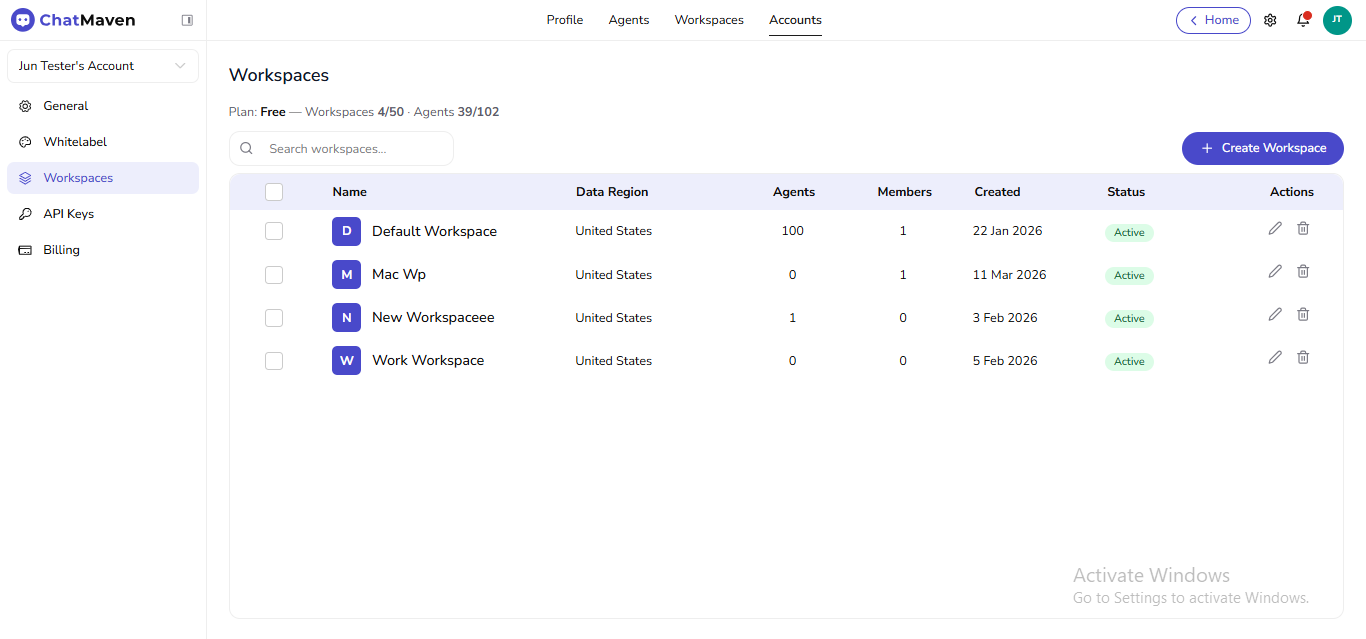
You should see the Workspaces title, your plan line (workspace and agent counts), the Search workspaces field, + Create Workspace, and the grid of workspaces.
Workspace administration is tied to the account you have open. If you do not see Accounts or the Workspaces item under an account, you may be signed in with a role or account that does not expose these controls.
What the list shows
Each row is one workspace. Typical columns include:
| Column | What it means |
|---|---|
| Name | Label shown to members; the colored tile uses the first letter as a quick visual. |
| Data Region | Where that workspace’s data is hosted. This is chosen at creation and is not editable afterward. |
| Agents | How many agents are attached to that workspace. |
| Members | How many people belong to that workspace. |
| Created | When the workspace was added. |
| Status | Operational state (for example Active). |
| Actions | Shortcuts to open settings (pencil) or start removal (trash). |
Use Search workspaces to narrow the table when you maintain many rows.
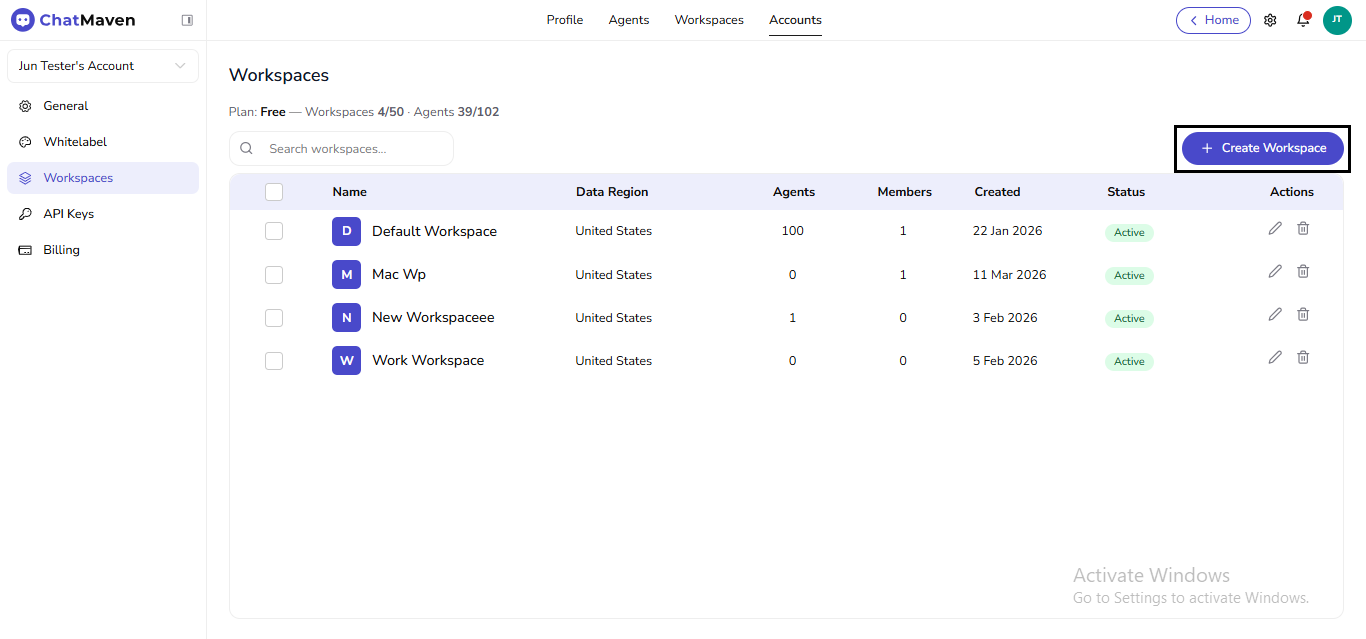
Create a workspace
-
On Account → Workspaces, select + Create Workspace.
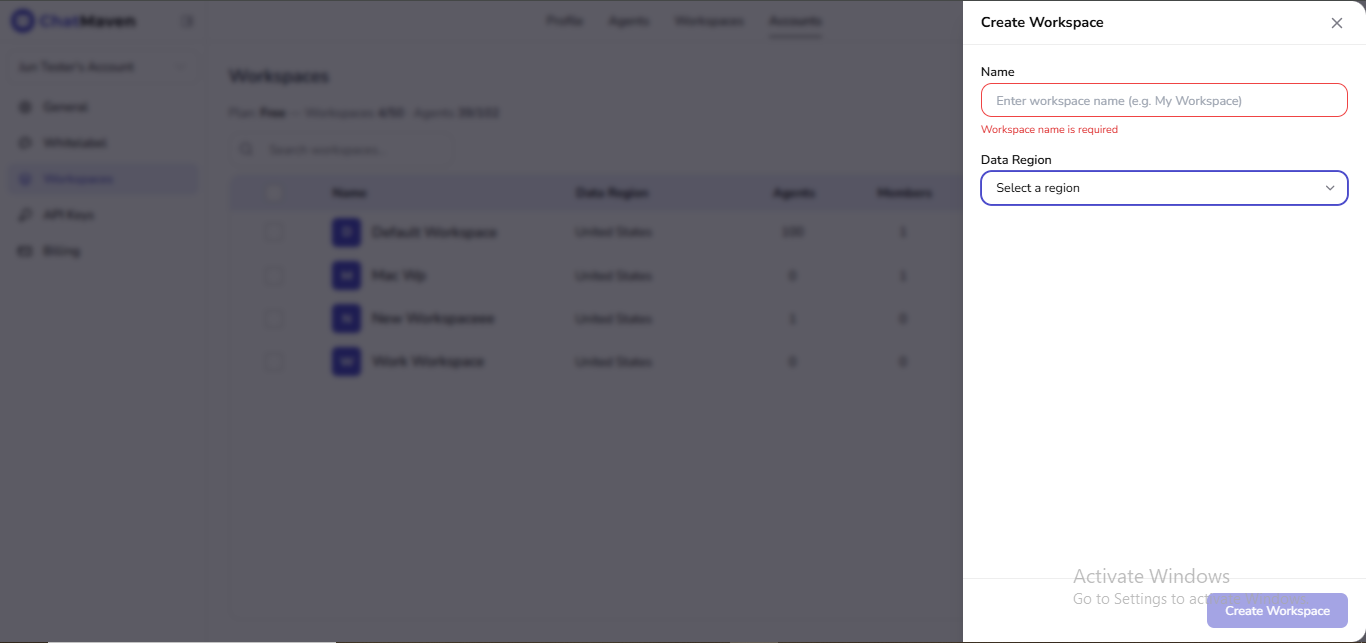
-
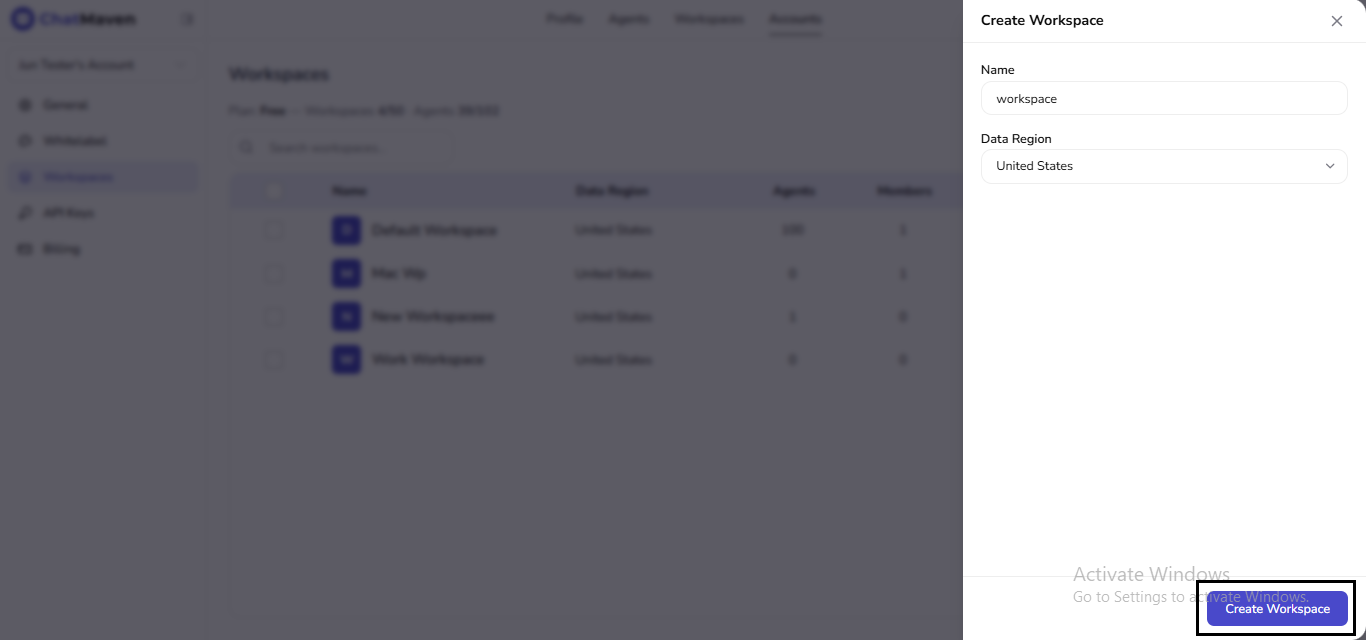
In the drawer, enter a Name and pick a Data Region from the dropdown. Both are required before the app enables Create Workspace.
-
Submit Create Workspace. New workspaces start empty until you add agents, flows, and members according to your rollout plan.
After the workspace exists, Data Region cannot be changed. Pick the correct region when you create it.
Edit workspace details
From the account list
-
Locate the row in Accounts → Workspaces.
-
In Actions, choose the pencil (edit) icon.

ChatMaven opens workspace settings (top tab Workspaces, left rail General selected).
On the General page
- Update Workspace Name as needed. Helper text explains that members will see this name.
- Data Region stays read-only; it reflects the choice made at creation.
Use Save to apply the new name, or Cancel to discard edits.

Delete a workspace
Removing a workspace destroys its agents, flows, and related data. Export or reassign anything you must keep before deleting.
From the account list
-
In Accounts → Workspaces, find the row.
-
In Actions, choose the trash (delete) icon.

-
Complete any confirmation the product shows.
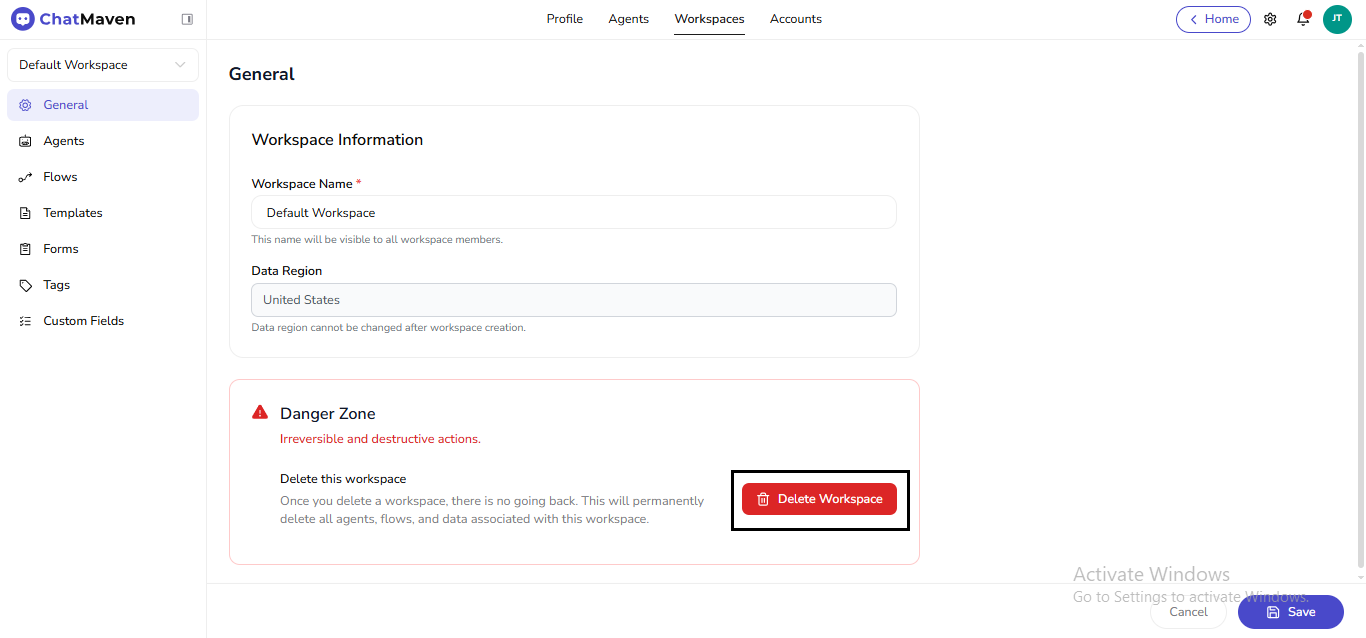
From workspace General (Danger Zone)
-
Open Workspaces in the top bar (while inside the workspace), then General in the left rail—or arrive here via the list pencil as above.
-
Scroll to Danger Zone and read the warning copy.
-
Choose Delete Workspace.
-
In the confirmation dialog, confirm only if you intend to remove that workspace permanently.
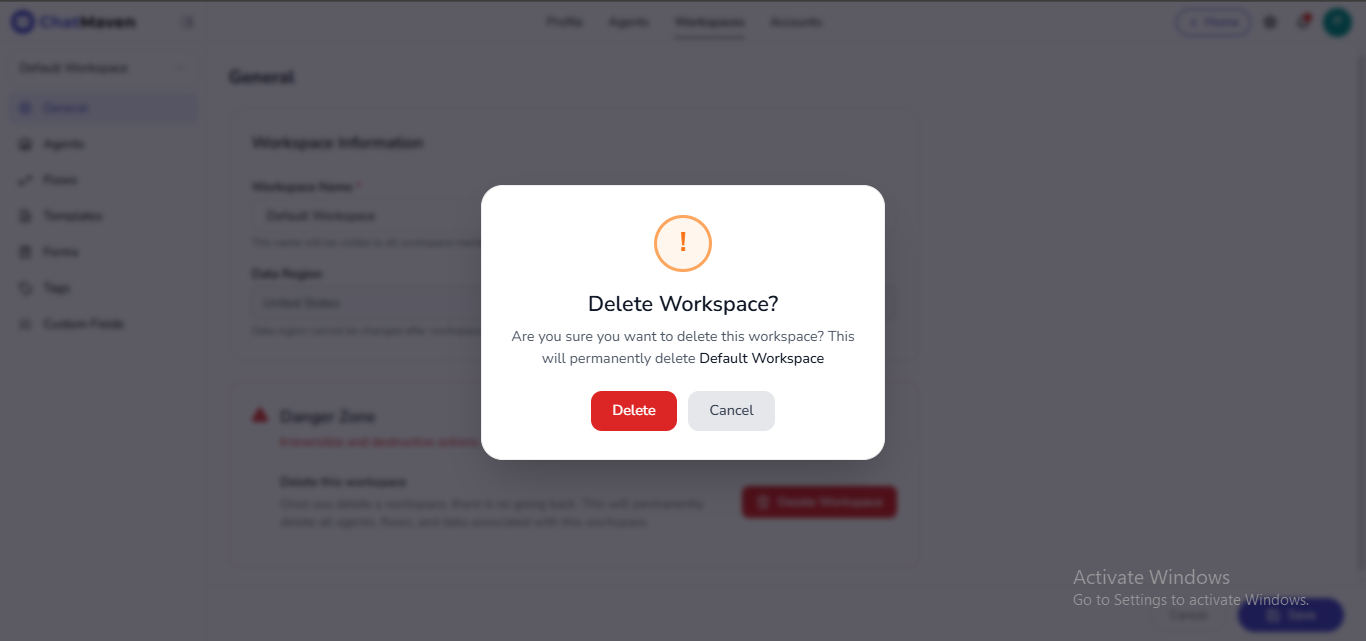
Deletion is meant to be final. If you are unsure, stop at the confirmation step and verify exports and dependencies first.
Working with more than one workspace
Most day-to-day work happens inside one active workspace. When you belong to several, you can change context without returning to the account table every time.
From the profile menu
Open your avatar menu in the header. The current workspace appears with a control to expand the list; pick another workspace to load it.
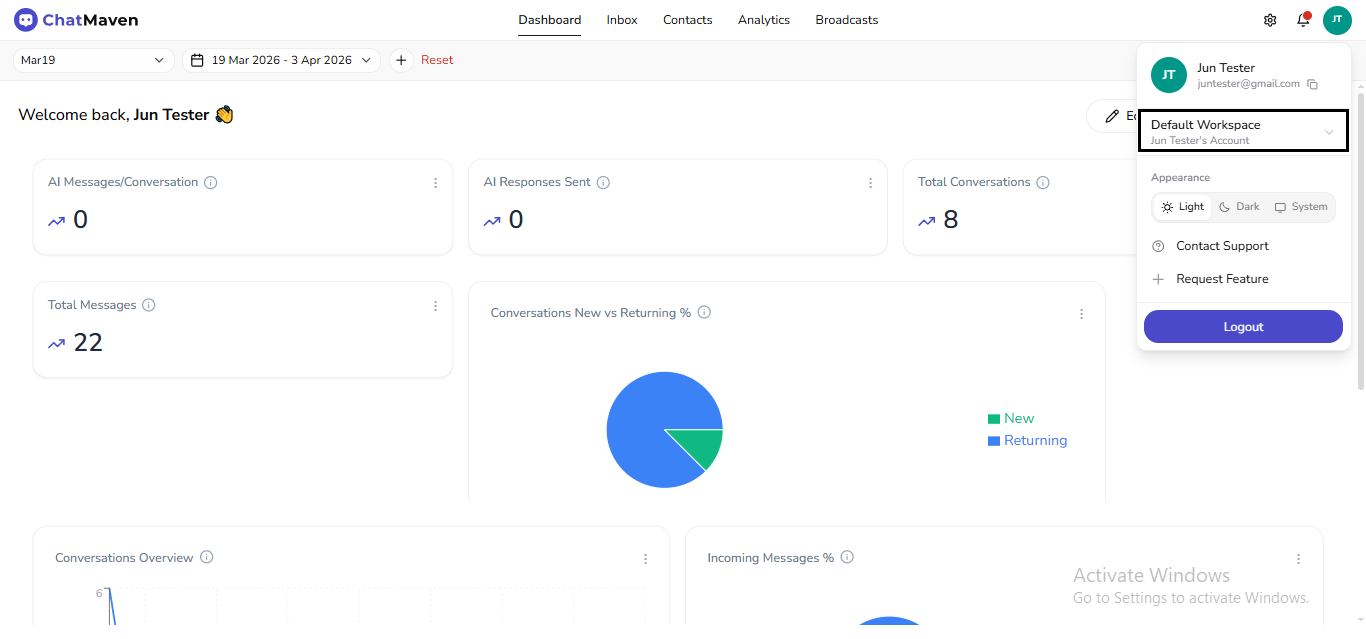
When the expanded picker includes a search field, type to filter long lists.
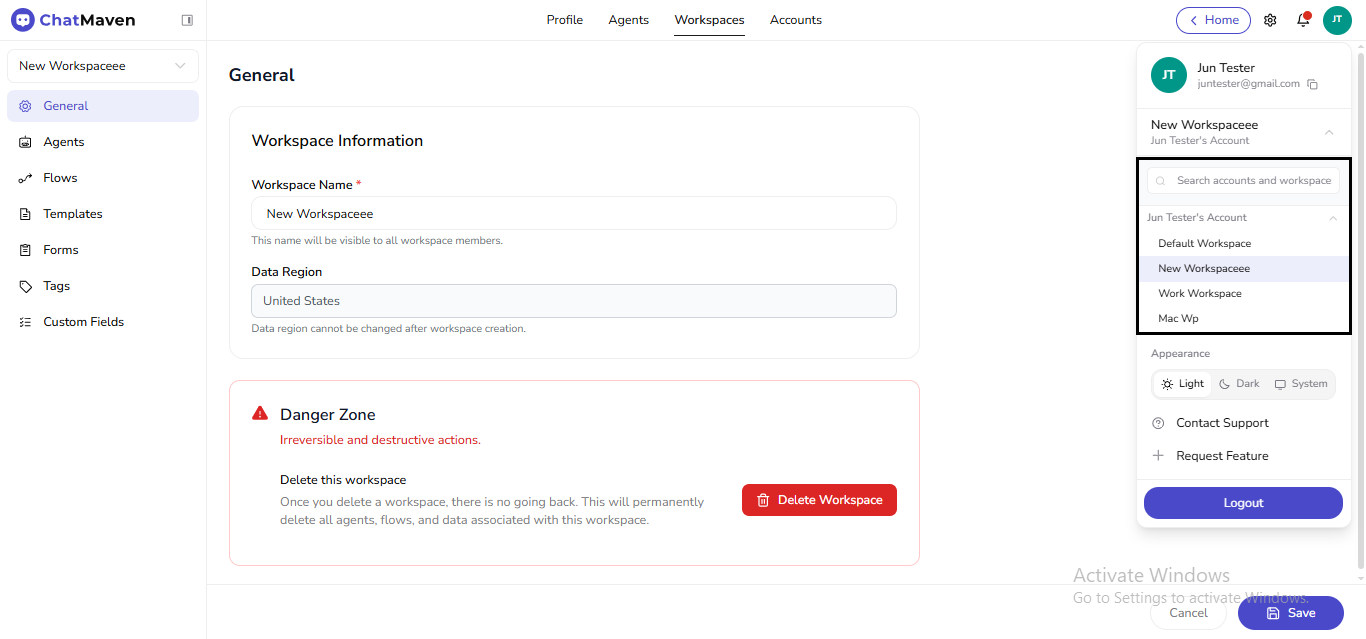
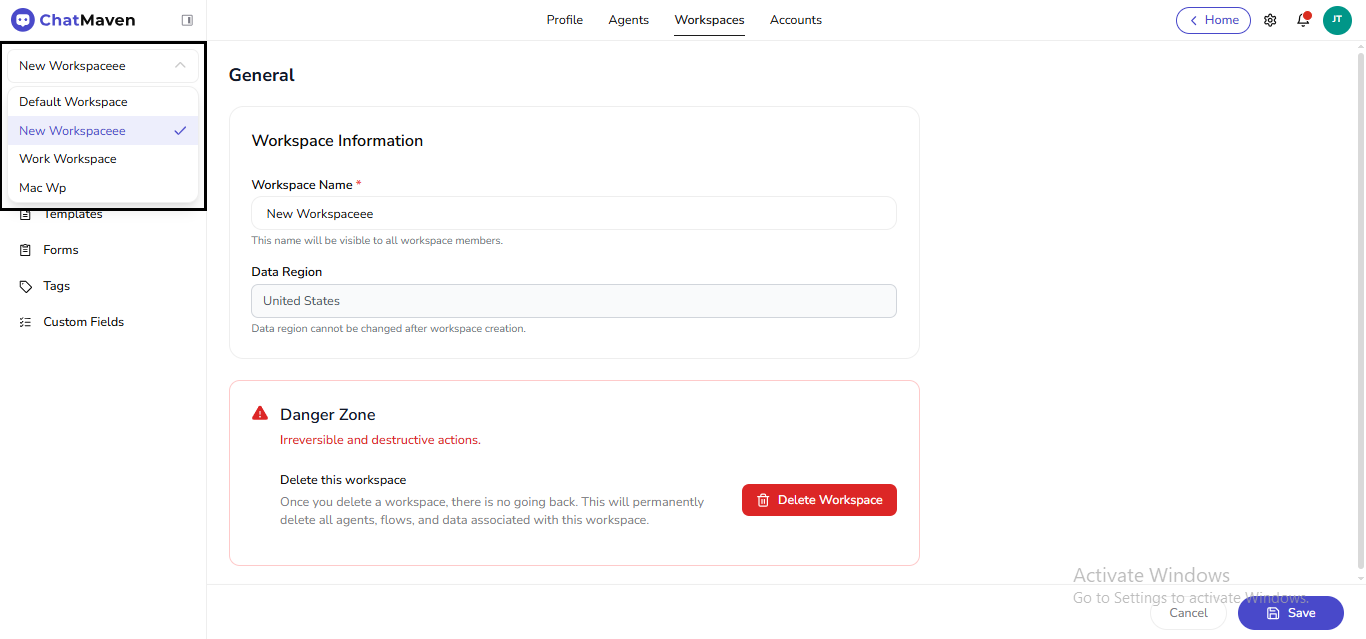
From the workspace sidebar
Use the workspace dropdown at the top of the left rail while you are in workspace settings (for example General, Agents, Flows). The checkmark marks the active workspace; select another row to switch.
Related
FAQ and troubleshooting
I need another workspace for a new brand.
Owners can often create one from Accounts → Workspaces unless you hit plan limits. Each workspace has its own agents, data, and sometimes billing line items.
Can I move an agent between workspaces?
Usually you duplicate configuration and reconnect channels; direct moves may not exist—check with support for bulk migration.
Wrong workspace selected in the sidebar.
Switch the workspace selector before editing agents or viewing analytics—many screens are scoped to the current selection.